
I seriously can’t believe it time to start thinking about Halloween already! This time of year for us is insanely busy…from birthdays to holidays it stays jam packed! So I get that it may be a bit early for Halloween for some but if I don’t plan ahead it just will not happen.
This projects is super fun and made almost entirely of Dollar Tree supplies…even better!

Start by adding hot glue to the rim of your terra cotta pot and pressing your Spanish moss to the glue. I really love the eeerie vibe the color of this moss gives to this topiary.

Add a little hot glue to the bottom of your first pumpkin and press it onto the pot.

I wanted to break up the solid colors a bit, so I decided to mod podge some funy ribbon to the pumpkin in the middle. To start this step, remove your stem and cover the pumpkin in mod podge. I suggest working in small sections so it doesn’t dry.
I also coated the outside of the ribbon to harden the surface. If you’ve never worked with mod podge its like a super strong glue that dries nice and clear.

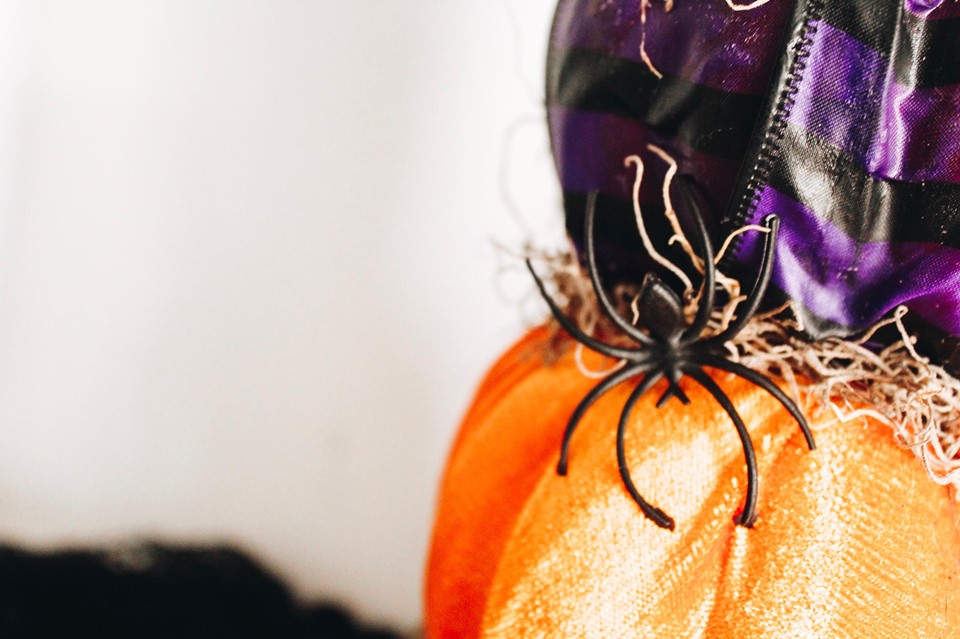
While your mod podge pumpkin is drying, grab your third and final pumpkin and stretch some faux spider web around it for a little extra creepy touch.


Once all of your pumpkins are spruced to your liking it’s time for the fun part…STACKING!! I recommend a little dab of hot glue and moss in between layers, simply repeat for each layer.


Adorn with a cute bow, and if you’re feelin’ spunky replace our plastic stem with a little wood stick.


-PIN FOR LATER-

If you like this DIY you will love this free upcycled pumpkin! FIND IT HERE


[…] Source […]
Comments are closed.