
I have been working on our island conversion for a few weeks now and I am finally gettting to the final touches on everything I wanted the piece to look authentically old, that was my main goal. I bought new apothecary hardware from Amazon and absolutely LOVED the design. What I didn’t love was how new they looked. They didn’t match the age of the rest of the piece and I kinda thought I was doomed. That was until I ran across this product shared by The Vintage Porch. It’s a Rust finish metal effects kit by Modern Masters. It was a very simple and effective 3‑step process that completely changed the game.
These are the two products I started with


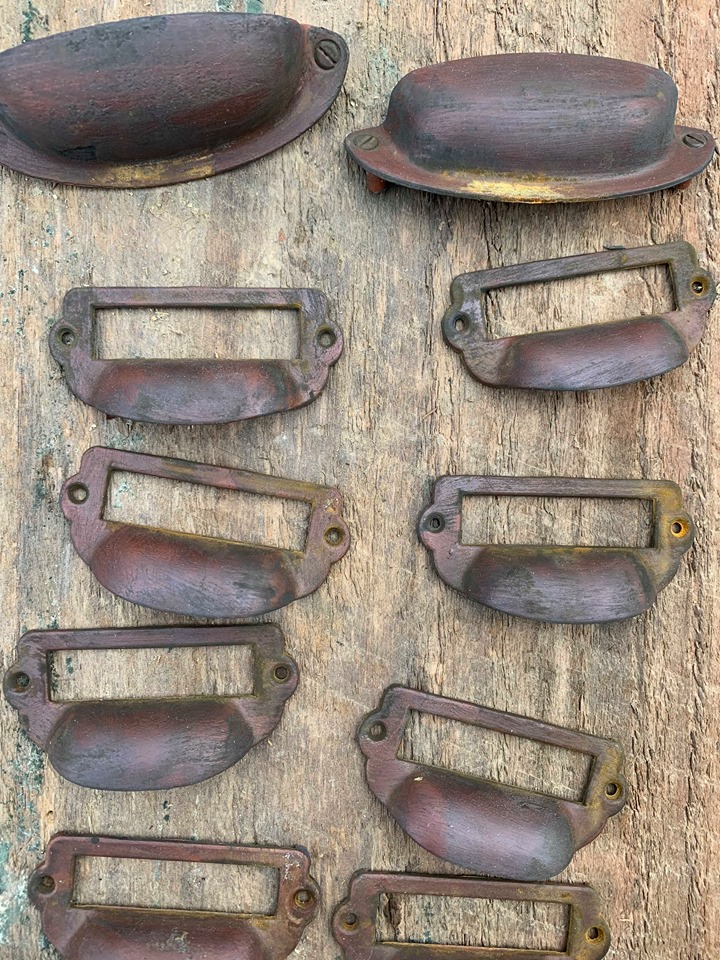
Per the directions on the box, start by painting your hardware with 2 coats of PRIMER, allowing 30 minutes dry-time between each coat. It gave my hardware a nice rusty color without the actual rust, if that makes sense. Either way, it made me super excited!


Once dry, apply 2 coats of the iron oxidizing paint with 30 minutes of dry time in between coats. I could have set timers and been super technical about the whole process but I would apply a coat, walk away to work on something else and come back later. It was basically a really thin watery black color. I was kinds iffy about it but the end result really turned out beautifully!


The third and final stage of the process was to spray the dry hardware with the rust activator. Y’all, this is where the magic happens! As the activator dries, real-life rust will actually appear! My mind was blown, maybe you’ve heard of this stuff before but I sure hadn’t. This could be a total game changer, especially when you’re going for a nice vintage or aged feel.


-SAVE THIS PROJECT-


[…] touch of age this dresser needed to take on that well worn look. I buttoned up the look with DIY RUSTY HARDWARE (see tutorial HERE), a couple rusty farm implements and the hand made soft maple counter was the cherry on […]
[…] any sense to you but that is literally the phrase I have been using to describe my vision. Rusty hardware (that I also DIY’d HERE) , chippy paint…you name it. This has presented itself to be quite the challenge but I was […]
Comments are closed.