
It’s not secret that I love wood bead elements in my home and if you’re reading this I am guessing you share the same wood bead obsession that I do right? What did we ever do before “farmhouse” decor haha.
In addition to this super cute napkin ring I also enjoyed making this super cute and simple DIY WOOD BEAD TASSEL using some of the very same supplie we’re using here.

Supplies Needed for Napkin Rings

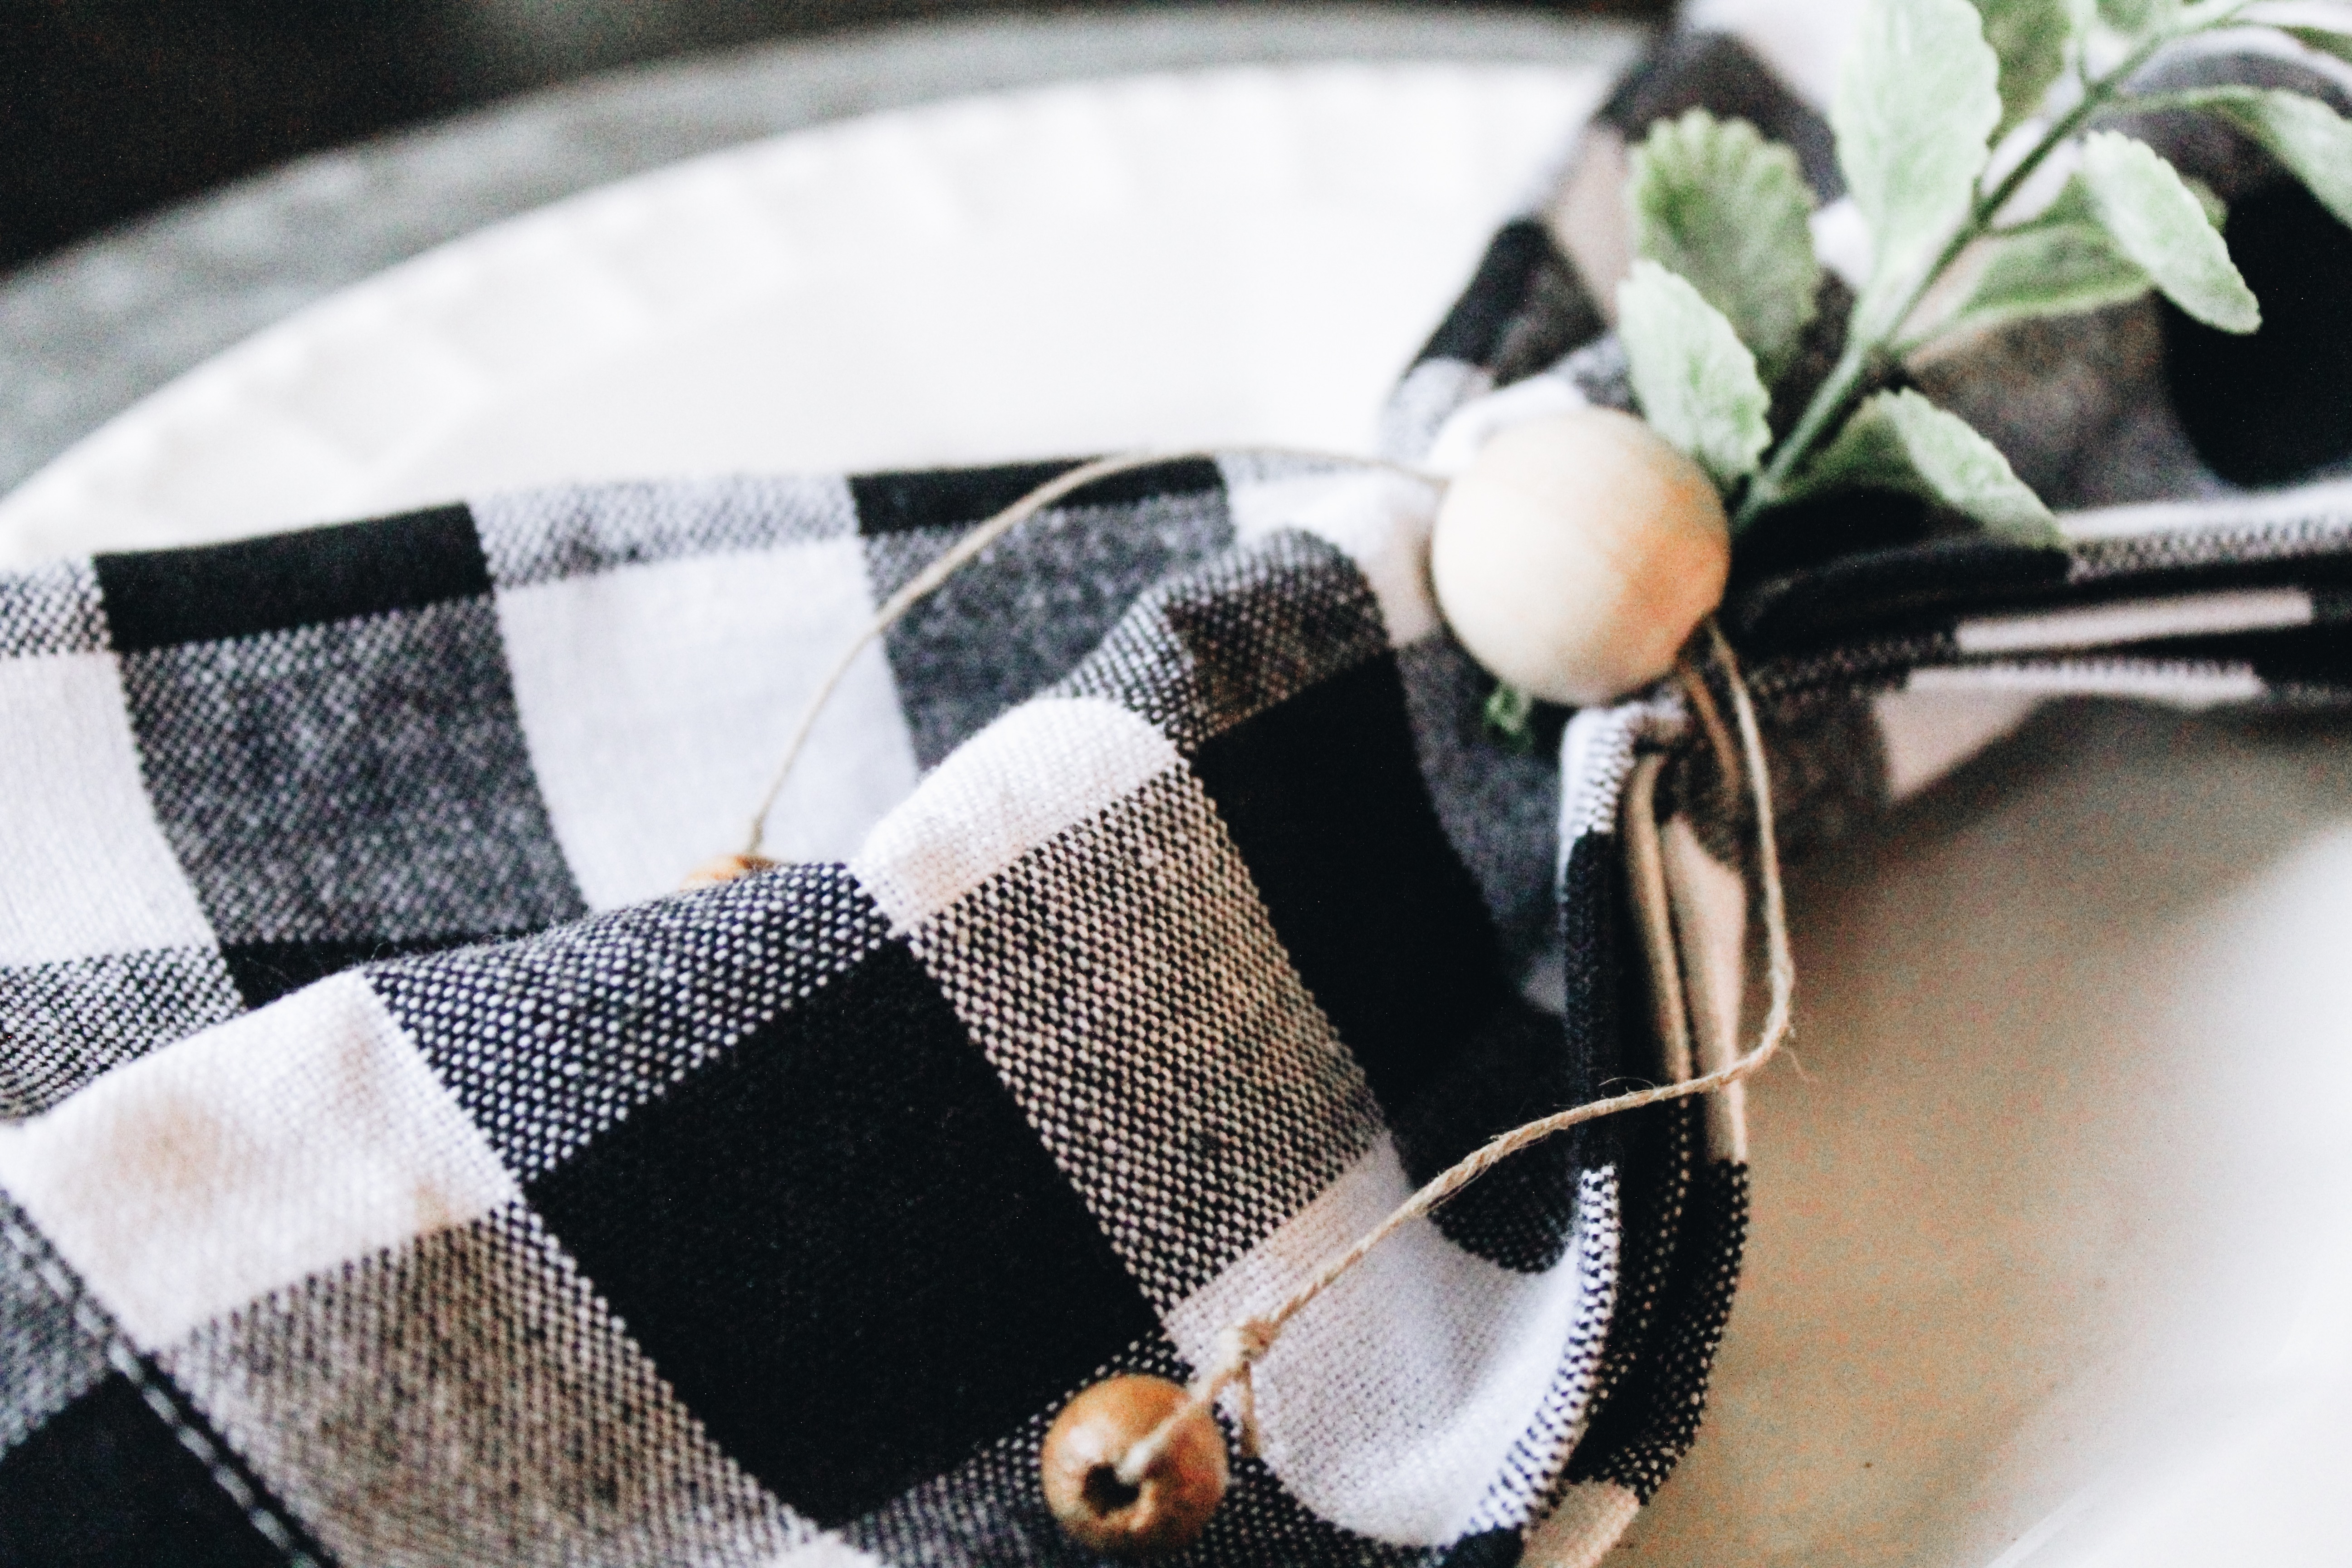
First , grab your scissors and cut a piece of hemp. I think mine was about 12 in give or take. It can be trimmed down right before adding your last bead so son’t sweat it.

Start by tying one of your smaller beads to one end of your twine and tie in a knot to secure.


After tying a small bead to one end, thread your larger bead onto your twine (This will be the center focal point of the napkin rings when we’re finished)

Then loop your bead around and back through the bead from the other direction, creating a circle.

Do this twice for added stability You are welcome to use a heavier twine but in this case a double loop was necessary so it will hold the napkin in place once we cinch it together in the end.
Finish by tying your second small bead to the naked end of the twine, closing the loops.…and viola!
Simply duplicate the steps per number of seating arrangements.


NEED MORE IDEAS FOR SETTING YOUR TABLE?
Check out this super easy silverware pocket made from brown paper bags!

-PIN FOR LATER-


REALLY cute! I’ll be trying these!
Awesome! They’re super easy!
Comments are closed.