
I am not gonna lie this is one of those projects that when you first start it your like, “what the heck?” Or at least I was anyway. I had this grand vision of how it was supposed to look and let me just warn you you may be tempted about 3 minutes in to give up and throw it in the trash. Take heed my friend I promise it will turn out beautifully if you just see it through!
Supplies Needed:
- Medium Styrofoam Ball (I recommend this size because the final product ends up larger)
- Hot Glue Gun
- Scissors
- A few pinecone’s (Depending on the size of your ball)
Start by using your scissors to cut the scales off the pine cone. I used the scales from the bottom half of the cone simply because they were easier to cut.


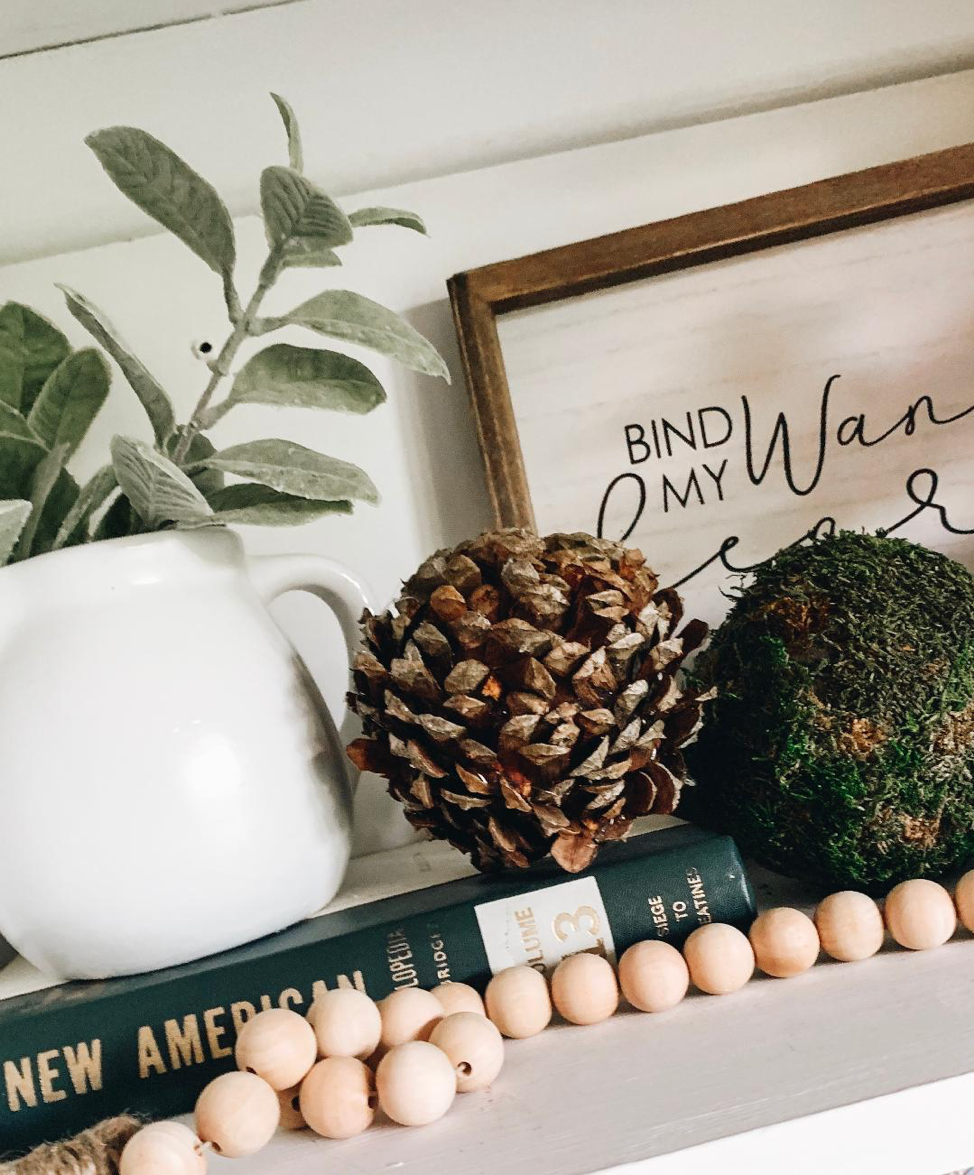
Then, start hot gluing your scales around the ball, placing them all facing in the same direction. It helps to sturdy your ball for decorating by situating it on top of a cup, or something similar. In my case I had a small pot available and that did the trick. Nothing fancy here. This was about the time I felt like giving up on this DIY and call it a flop. Just to warn you, it does not look beautiful immediately. Just keep going.

Continue adding the scales to the ball, tucking them underneath the previous layer until the entire ball is covered. I was surprised at how unique this decorative ball looked once it was finished. It was so simple and affordable!


