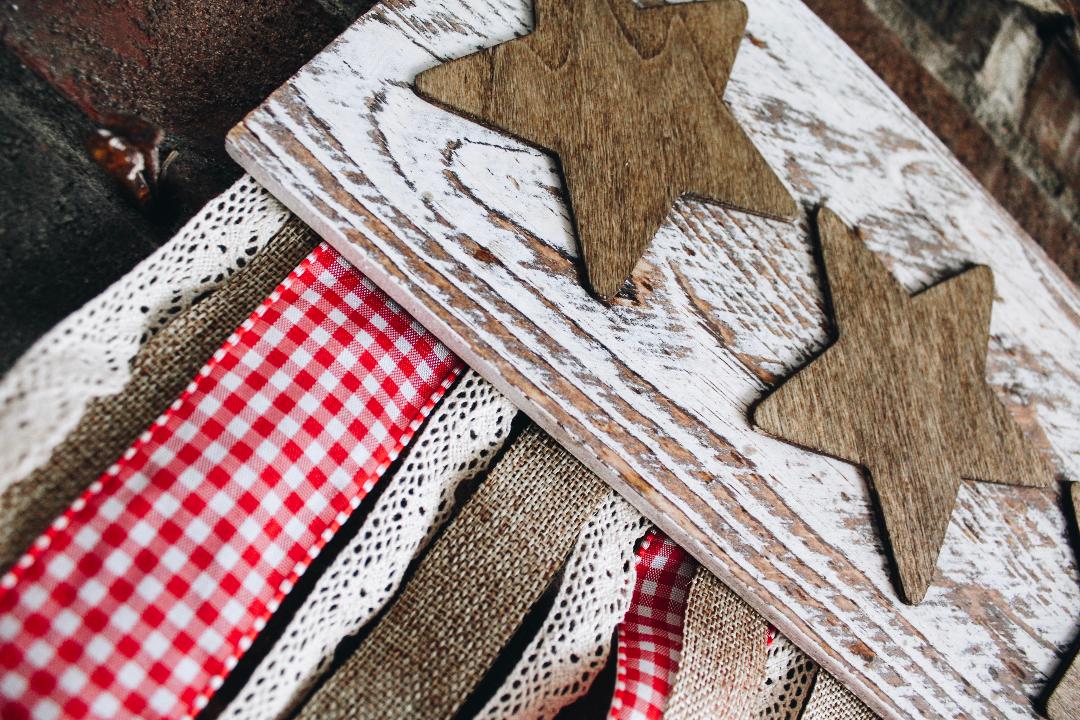
I am excited to share with you just how easy and beautiful this patriotic door hanger can be with just a little wood plank and ribbon!
For me, patriotic decor around the homestead always seems to be lacking. Summer holidays always seem to sneak up on me and I find myself scrambling around last minute to come up with a few good summertime decor ideas.
This project started with a pre-distressed board from the Wal-Mart craft center and a pack of 6 little wooden stars from the same isle. I’m sure the same supplies can be found at your local craft store or in the affiliate links listed below. Another option would to be to grab a piece of scrap wood and use a dry brushing technique to create your own weathered look.

Materials
- Wood Plank
- Wood craft stars
- Wood stain
- Ribbon
- Hot Glue Gun
- Scissors
- Stain brush


I stained my stars with Minwax Special Walnut stain first so they had a few minutes of dry time before the gluing step. If you don’t have any wood stain on hand I have a DIY wood stain recipe here.

I forgot to get a picture of the stars in the drying phase, but I believe you get the idea. Using a small paintbrush, apply 1 coat of stain to the stars. You could easily make them darker by layering coats of stain or paint them if you prefer more color. We’re going for a rustic look here and I am adoring this stain!

DO YOU LOVE MAKING YOUR OWN DECOR?
Then you will LOVE the R+R DIY Decor Box! Get amazing home decor projects + supplies shipped to your door each month!
Next, gather your ribbon. I used 3 different kinds of style and textures here. I don’t know about you but I think this combination of the lace, red check and burlap ribbons is just about at American as you can get! Now I just need an apple pie cooling in the widow.…now there’s an idea.…anyway back on topic, this ribbon y’all, I’m literally at a loss for words. So cute.
Cut your ribbon at approximately the same length. I did not measure…I never do. The imperfection is what adds to the character of this project so don’t sweat it!

Then, flip your board over and start hot gluing your ribbon across the back. I laid mine out first just to kinda get a feel for how I wanted the ribbon to lay. I didn’t want it to look intentionally placed, if that makes sense.
In other words, I intentionally styled them in an unintentional way…say that three times fast. Once again were just going with it.
For a cleaner look, you could easily add another strip of fabric across the areas to cover the hot glued areas.

After you have assembled your ribbon and are satisfied with the look, flip your board back over and hot glue your stained wooden stars! This is when I thought to myself, “Holy moly this is perfect.” I mean really, WOW!

Y’all that’s it! This banner is precious and perfect and so stinkin’ easy I can’t even handle my excitement!


