Okay, y’all. Let me just start by saying, I am not a professional painter. This is my second time taking on this type of project but my first time documenting the process. I completely understand how overwhelming it can become with the crazy amount of cabinet painting tutorials that are out there. That is why I have tried my very best to break it down in the clearest way possible.
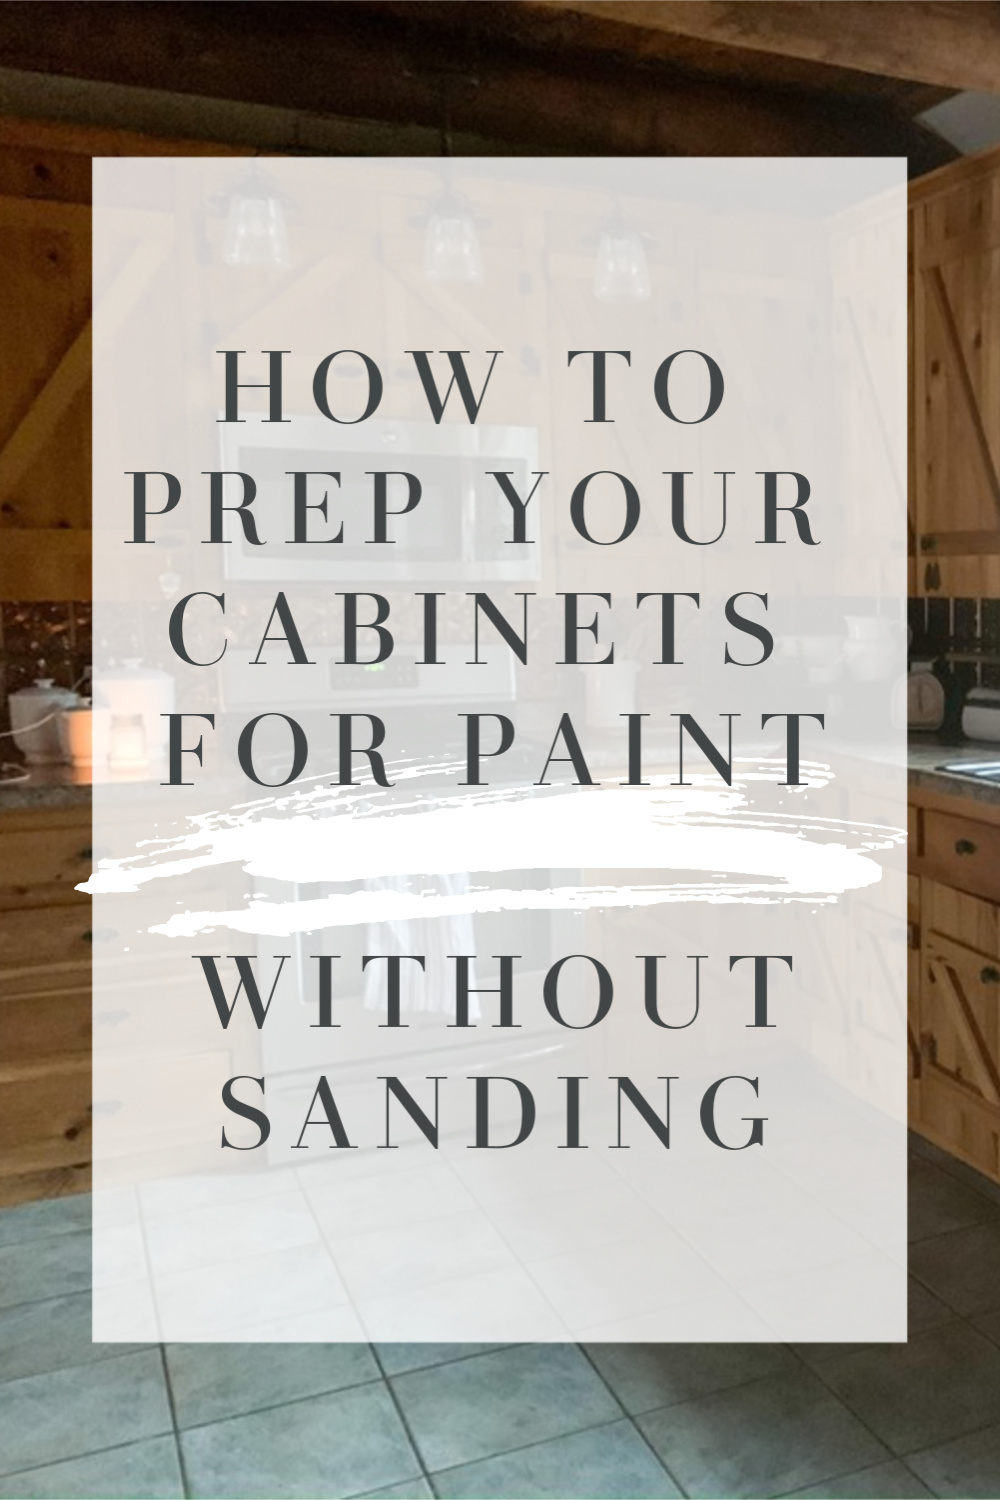
We recently moved into our forever home and even though I fell in love with the house, I did not love the cabinets. And let me tell ya, if there were any cabinets in the world that were gonna be tough to tackle, they were mine. They were made from a knotty hardwood, I really don’t know the exact type. All I know is they were knotty, stained an orange-ish color and had a suuuuuper glossy lacquer.

See what I mean? Even though they just weren’t my style, they were still perfectly good cabinets that had plenty of life left in them. With a little freshening up I was sure that it would lighten up the whole room and fit better with my overall theme of the house.
Before you even open your can of paint, there are necessary steps to take to get your cabinets prepped. These steps are intended to be a guide and represent my personal results. I am not saying that this is a cookie-cutter guide for all but it will give most a good idea of where to start.
STEP ONE-CLEANING
This step is perhaps the most important step of the entire process. I used a diluted TSP formula. It is an amazing degreaser for heavy build-up. Just follow the dilution directions on the bottle and wipe down with a lint free cloth.
I mean LOOK at all that dirt! Let me clarify by saying, we are not dirty people. This is from my upper cabinets only, that I thought were clean! Can you imagine if you just painted over all that? It wouldn’t work out so well. That is why this step is KEY to the whole process. Clean cabinets create the best workable surface for paint to adhere.

STEP TWO-REMOVE DOORS
After everything was nice and clean I marked each door (and drawer) with a corresponding number starting from one side of the uppers and working my way all the way around before moving to the lowers. I just used a paint friendly masking tape. You will keep your cabinets numbered right up until you replace them.

STEP THREE-DEGLOSS
Next, I wiped down the doors and cabinets with a liquid sander deglosser. I must stress here that this method does not totally replace sanding. However, this is an excellent alternative if you are looking only to degloss an already smooth surface, or if you’re like me and you’re okay with the imperfections, then this perfect!. It creates a rough coating on glossy surfaces that helps the paint and primer stick without all the hassle and time.
I couldn’t find the link for this exact deglosser I found at my local home improvemtn store, but I linked a similar one HERE
The deglosser is a milky glue-like substance. If you apply per the directions on the bottle, it will work like a charm. Apply with a lint free cloth and allow to dry. Once dry, it will leave a white film on your cabinets that you can paint right over. Don’t worry, this is supposed to happen!


STEP FOUR-PRIME
Now, on to primer! KILZ Original did the trick for me just fine! It blocked the look of the knots so they won’t be seen under the paint. One good coat applied with both a roller and brush (chat with the paint guy at the store, he can direct you to the right roller and brush) and my cabinets are ready for paint! I did go over the knots a second time for good measure because I’m paranoid but I’m not sure that it’s necessary. Like I said, I am not a professional, I am simply sharing what worked for me.


Are you tired yet? It’s a lot of work, I’m not gonna lie. It takes a lot of time and work to get cabinets ready for paint but I can promise you will be happy you did. I have a few more doors to finish up priming then I will be ready for paint!
Be on the lookout for STEP FIVE-PAINT here soon! I am still deciding on paint and commmunicating with brands to find the best possible paint for the job. Stay tuned!
In the meantime, pin these instructions for later!
-PIN FOR LATER-


