
I love a good scrap wood project, and this Scrap Wood Fall Sign does not disappoint! There really isn’t much you can’t do with a good piece of scrap wood. If you don’t have the luxury of having wood easy to access I have curated an amazing Scrap Wood Box Subscription that delivers 3 or more scrap wood projects right to your door! Saving and forgetting those amazing ideas on Pinterest is now a thing of the past. Turn your awesome ideas into beautiful pieces of rustic decor for your home!

Instructions:
It all started here, with this plain ole piece of wood. Nothing fancy, just a solid piece of perfect proportions.


I started by quickly roughing the surface with a piece of sandpaper and applied a quick coat of white paint. Note that it took about 3 good coats to get a good coverage and boy did that white make a difference!

My next step was wording. I do not have the gift of beautiful hand-lettering so I used some Chalk Couture samples I had laying around. I am NOT a CC designer but I do love their products. The fall design I used was from last years release I believe.
I used their ink to do this transfer only because I didn’t have the paste. In hindsight I think the paste would have prevented the black from bleeding a little. Again I am not a season Chalk Couture-ist.…I was just using what I had to get words on the board. Any stencil and paint would work great.

I lightly and I mean LIGHTLY sanded the surface of the paint only after I knew it was good and dry. My thought here was that it would possibly help with the brush strokes being so visible.
And then I applied my stencil and ink.

Once my design was ready I let it set overnight just to ensure it was good and dry.

In the meantime the hubby was making my cuts for the trim of the sign. We used 1in. cedar from Lowe’s. I had him make 4 cuts because originally I had planned to frame out all the edges.

I used Minwax Espresso to stain the wood to a perfect shade of brown.

After allowing them time to dry to the touch, I attached the top and bottom trim using a nail gun.
This is where my mind switched from the simple 4 sided from to creating a handing canvas-type look.

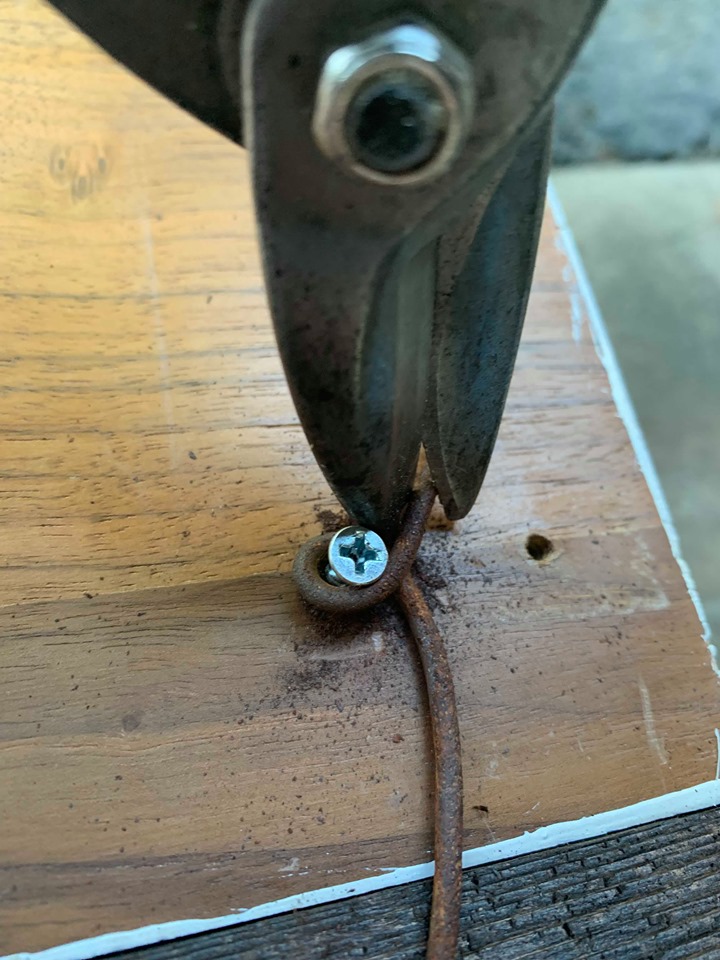
I fashioned a hanger out of two small screws and a piece of old rusty wire I had stashed from a recent trip to a “junker’s paradise”


Are you ready for the reveal… she’s a beaut!


-PIN FOR LATER-


