
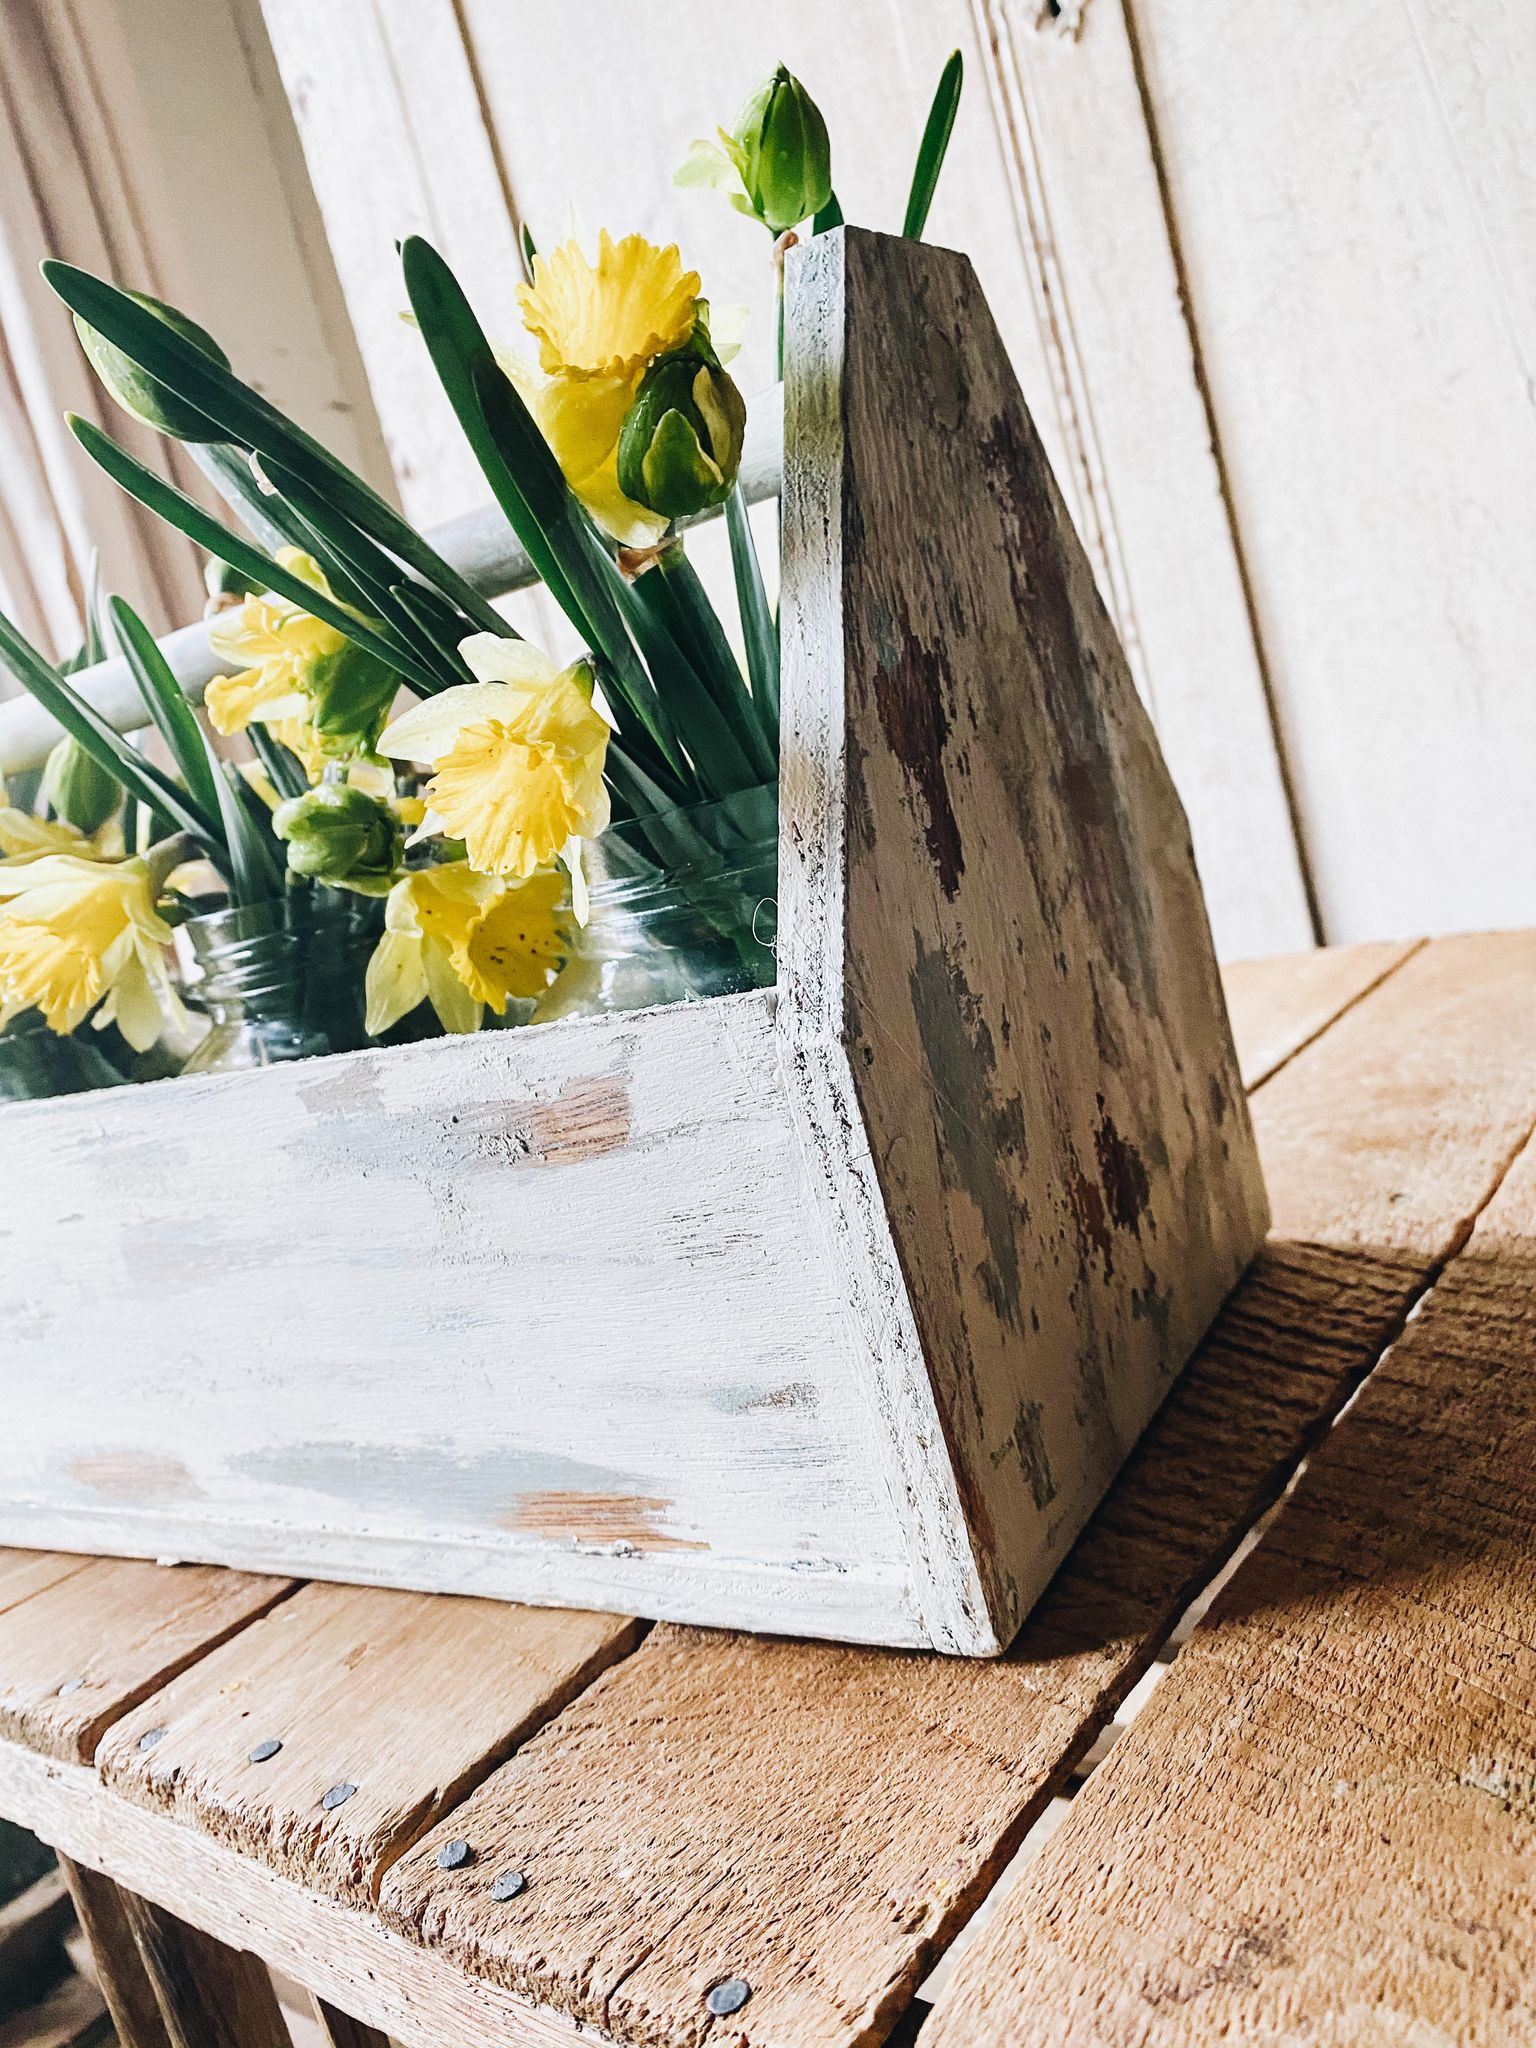
One of my very favorite things to do is to build and craft my own decor for my home. I recently was able to extend this love to members of my private Woodshop Members where we built a decorative, vintage wooden toolbox.
This membership is designed specifically for creatives who want to make quality wood projects for their home without the hassle of going to the lumber store, dragging out heavy equipment and spending big money just to make something for themselves. We have taken ALL of the worries out of making your own beautiful wood projects!

So now that you know what The Woodshop is all about, let me explain the goodness that came in this months box for members…that’s where this DIY comes in. Each member received a box of all of the precut wood pieces needed to build their own vintage wooden toolbox. (I will update this post to provide a cut list for this project in the near future so check back)
How to assemble your vintage wooden toolbox
Step1
The design of this toolbox is purely decorative. Keep that in mind with this build. It is not created to hold anything more than some florals or small jars for flowers. With that being said, I am using a strong hot wood glue for each seam in this project.
Begin with the bottom piece and line the short edge with a bead of glue and press your side piece firmly into the glue.


Step 2
Apply a thin bead of wood glue to one long edge and one short edge of one of the side pieces shown here and press and hold flush to the base and side pieces.
Repeat this step for the second side piece.


Step 3
Turn your box on its side and hammer your dowel rod into the predrilled hole. Please note, if you received a square rod in your kit, simply use the hot glue to attach the handle in the same area shown here.

Step 4
Apply wood glue to all exposed edges (including the end of your square dowel, if applicable) and press your second end piece onto the glue.

Step 5
Use a hammer to insert your brad nails to the ends of your toolbox. These nails will help to reinforce the ends of your box for durability. I suggest being patient during this process as to not split out the thin side pieces.


