
This faux french country will have you wanting to grab your joint compound and add texture to absolutely everything! It’s not an extravagant DIY. Yes there are a few steps and it could get a bit messy but it’s the sum of all those things together that made a simple, unextraordinary dollar tree planter into a French country inspired piece of “faux pottery” for your home.
What do you need to create a faux french pottery finish?
- Plastic container
- joint compound
- paint brush x2
- paint of choice, I am using a beige sample from Lowes
- plastic Walmart Bag
- Varnish
- dirt.….yes good ole dirt from the yard

Step 1
This faux french country piece began with me painting a coat of joint compound all over the surface of the planter. I used a regular chip brush for this step. It doesn’t matter if you cover every surface of the container just as long as you have enough to pull away when texturing.
Step 2
After a nice thick coat of joint compound has been painted on, take a plastic Walmart bag. Crinkled it up in your hand to form a ball and blot the surface of the wet compound. This will pull some of the compound away from the surface of the planter leaving some areas raised and smudged. This is exactly how you want it to look a this stage. It’s important that you DO NOT WIPE, simply touch the surface with the bag and pull straight up.
Allow time to dry completely and repeat this step for added texture if desired.
Step 3
Once dry, take your second paint brush and paint the entire surface of your planter. This will cover any areas left exposed and from the pulling technique I mentioned earlier.
Allow paint to dry
Step 4
Next comes the fun, and unexpected part.…DIRT! Yes, good ole dirt from the yard is what I am talking about here. The charm that comes with old pottery is the age and imperfections and dirt left behind after years of planting…or at least how I imagine it.
Take small handful of moist, not muddy, soil and rub it onto the surface of your newly textured and painted planter. The dirt will sit in the crevasses of the dried paint and compound. Trust me on this yall. I recomment starting with very little to test your look and build on that.

Step 5
Varnish. This step is like the glue that holds all the layers together. There will be some flaking pre-varnish but once its applied and dried it locks everything in place! Do not skip this step yall. The joint compound will not want to stay on the plastic forever. This indoor/outdoor varnish makes it durable! I am using a matte finish here.
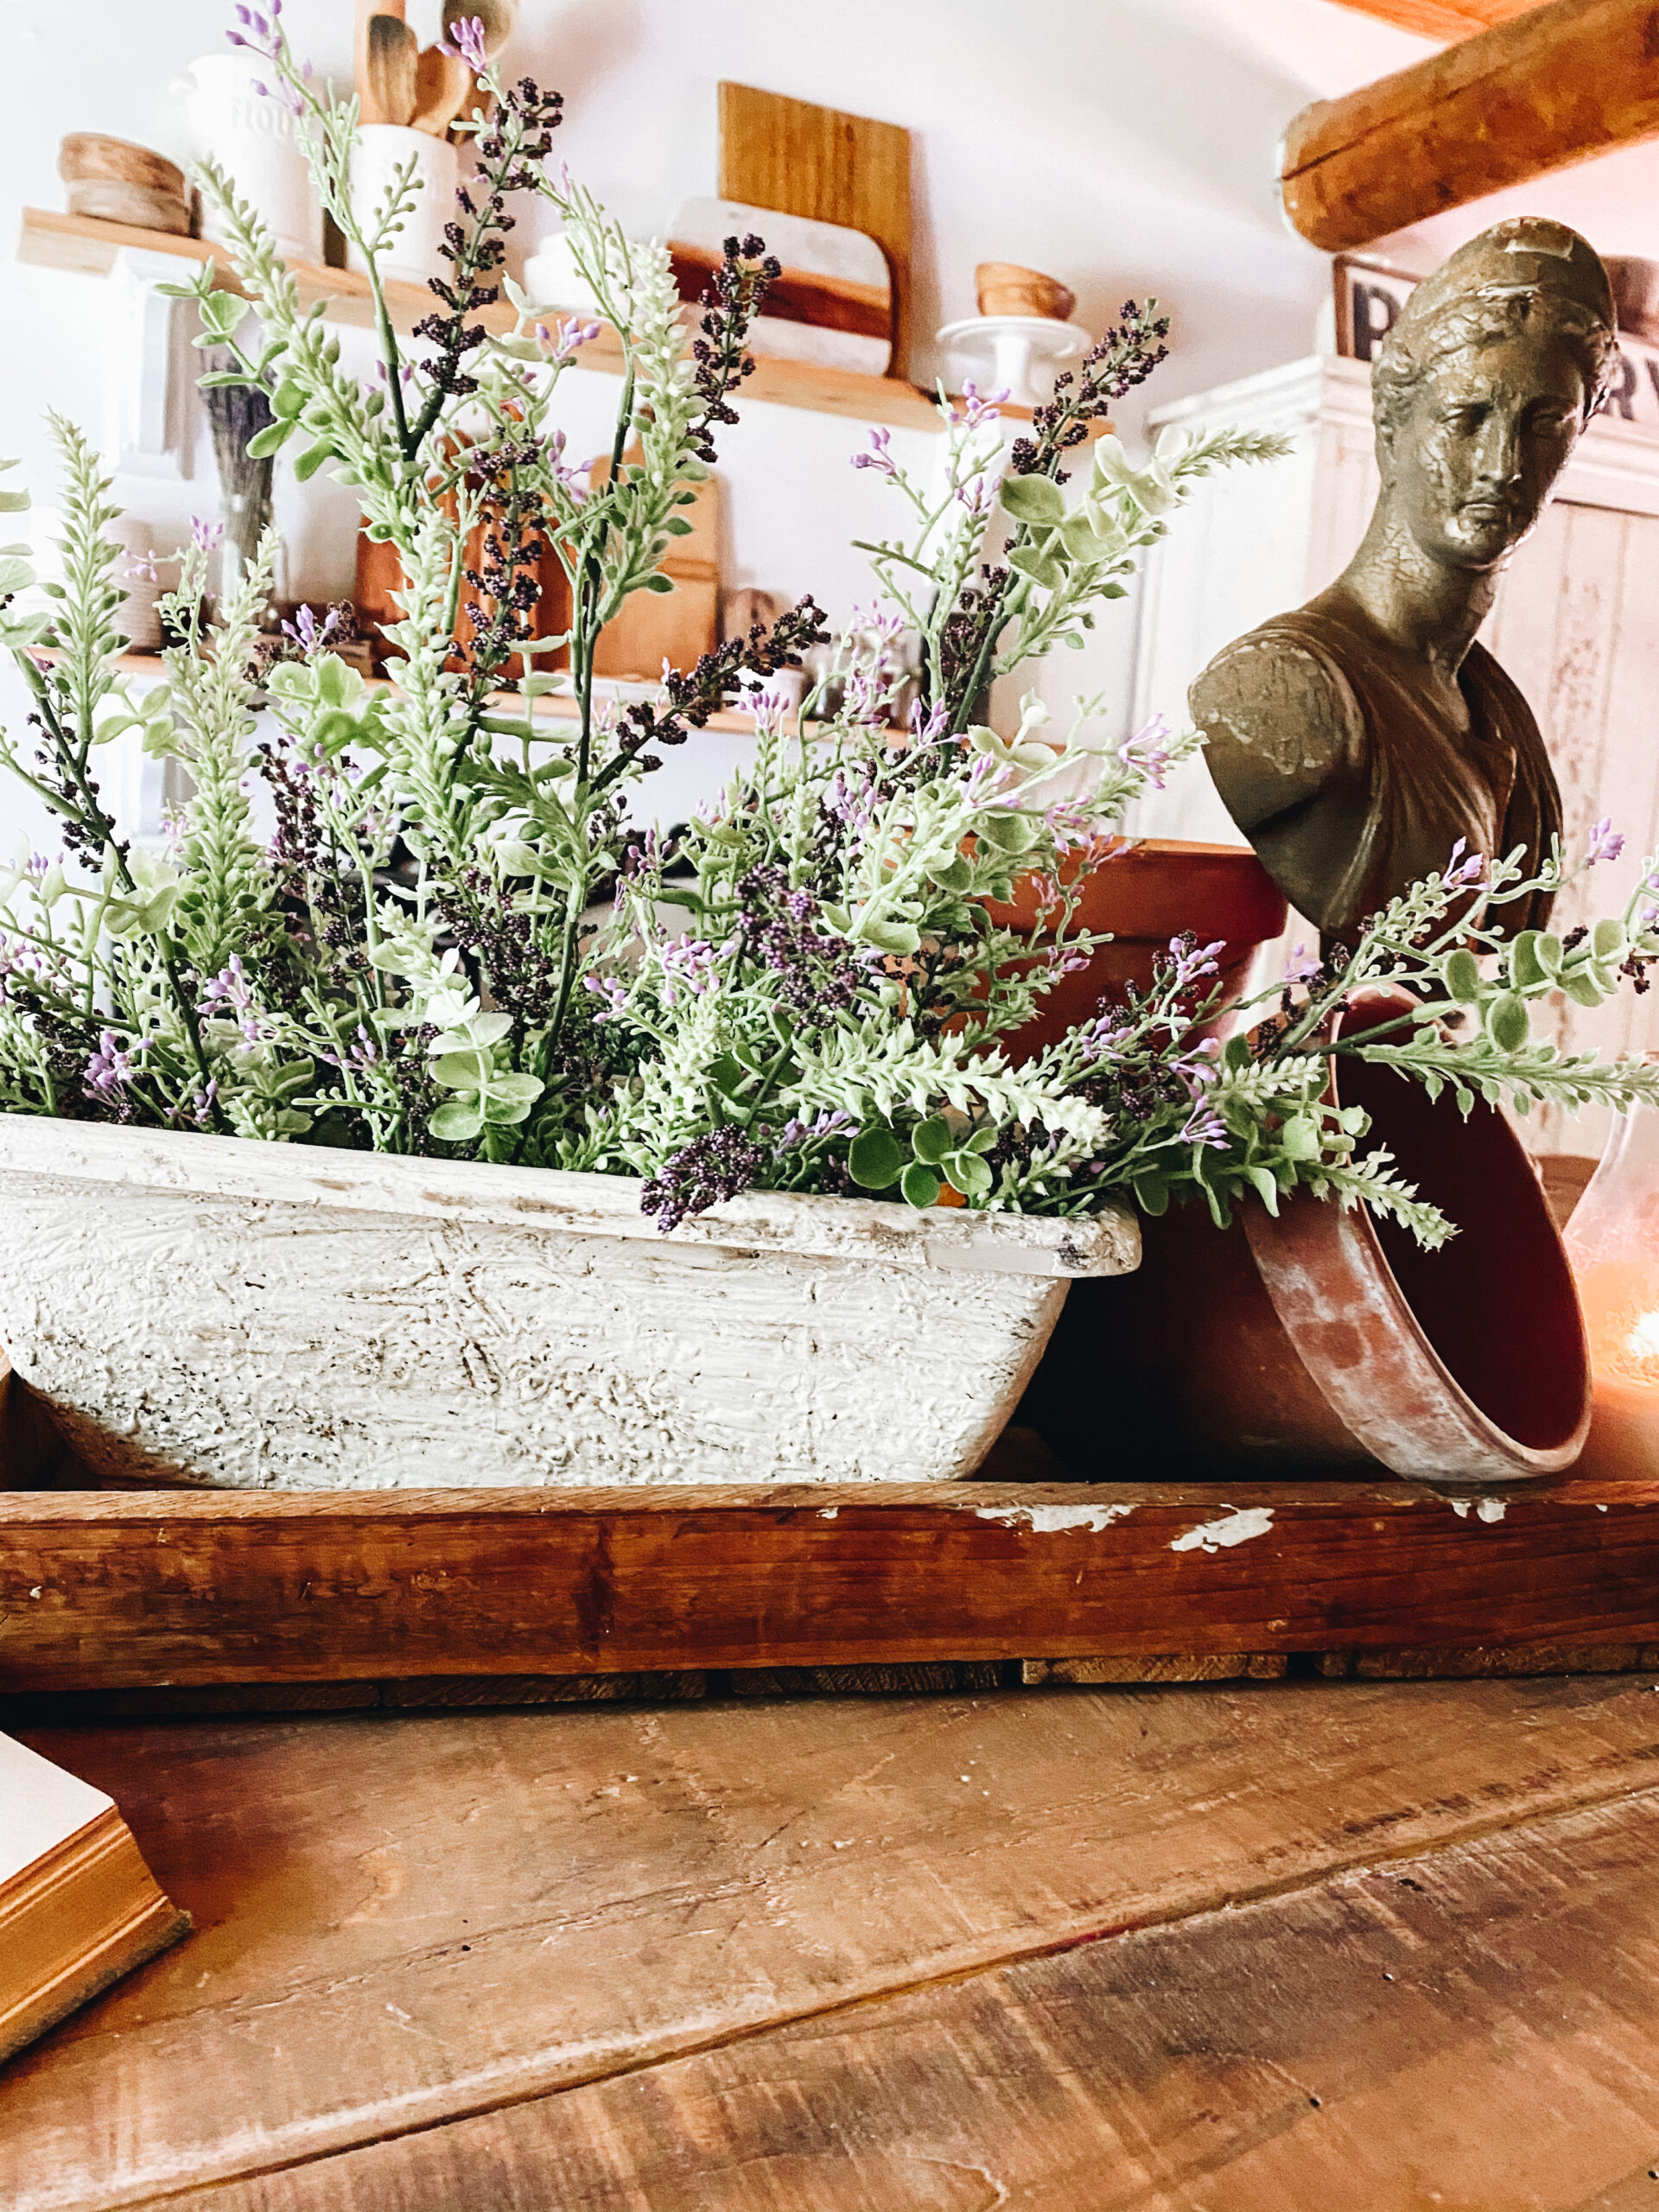
How pretty is this?? I enjoyed watching it evolve from a cheap Dollar Tree Planter into a beautiful piece of faux French pottery! I filled it with some beutiful lavender picks we hve in our shoppe! SHOP GREENERY HERE
I would love to know your thoughts in the comments! Thanks for reading!


What an outstanding idea/post/diy. I love what you did here. I want to do a few things like flower pots,and lamps like this. Thank you so much for sharing
Thank you so much!!!
[…] you liked this transformation, you’ll love my Faux French Country Pottery Tutorial I have on the blog as well. I use a different technique but the results are equally […]
Comments are closed.