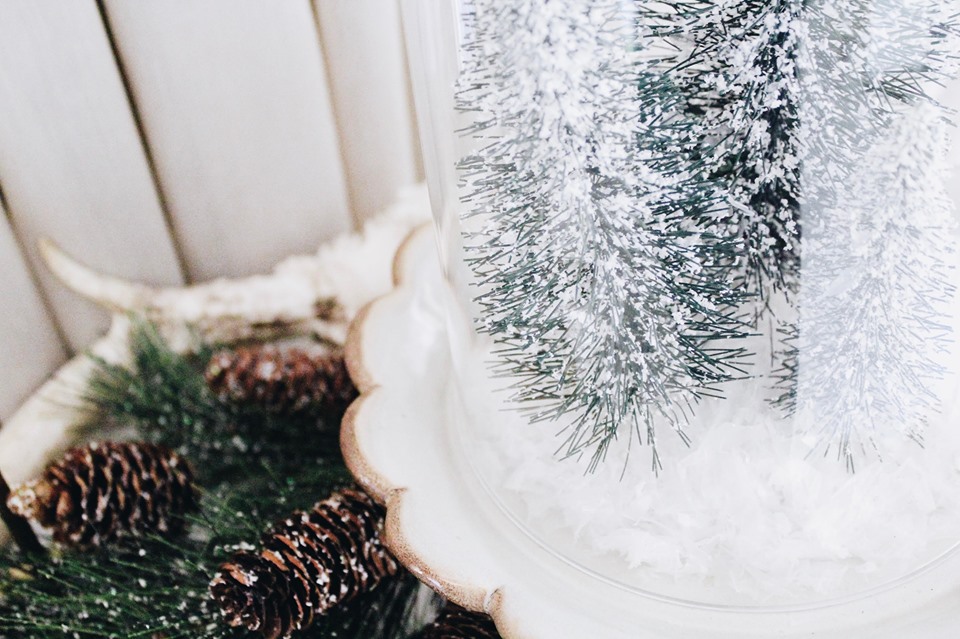
I am up bright and early on this chilly October morning sipping my coffee in my fuzzy socks and dreaming of all the beautiful Christmas things. The lights, the ornaments, the trees, the gifts. Every little thing about Christmas makes me so giddy. Typically I am a Halloween gal, and believe me when I say that both Halloween and Thanksgiving deserve their time in the spotlight, but this year I am really fighting the urge to jump head first into Christmas.
You see the thing is, I like to think ahead. For weeks now I have been getting a plan of action together for my Christmas decor, starting with the basement and working my way up to the main living space. But then yesterday happened. Yesterday, we went and looked at a house and farm that we could possibly be making our forever home. I don’t want to share anything pre-maturely but it is quite possible that our Christmas may look a bit different than I had originally planned.
With that being said, I am scaling back on going full-blown Christmas at the moment and instead choosing to focus on the small details that can help cozy up your space with very little time and money. This thrifty DIY all started s few weeks ago when I got it in my head that I wanted to create cloche. In fact, I didn’t even know there was an official term for those pretty little glass globe thingys until recently HA! For those of you that knew, please don’t judge, and for those of you who were in the same boat as me…you’re welcome. You learned something new today. So one day while strolling the isle of my favorite local thrift store I found it. THE perfect glass shaped dome. It was part of an angel display and actually the globe itself was plastic (even better when you have small kiddos) The whole contraption was $4 but I was only after the globe. I snatched it up and threw out the original base (now I am kicking myself for not having a photo of what it looked like originally) So that is how this story begins, a good thrift store find and an irresistible urge for Christmas decor.
SUPPLIES
Cloche or glass globe like shape
Base or dish for your display
Bottle brush trees
Faux Frosty Snow

I snagged this adorable little vase from a completely different thrifting trip back in the summer. The design and neutral color is what grabbed my attention about this piece in the first place. I think the part of this project that makes me the happiest, is just how perfect the vase and the base fit together so perfectly. It is literally a match made in thrifter’s heaven. You will see what I mean momentarily.

The next key element in assembling this little beauty is the bottle brush trees. I’m not sure if that it their official title but that is what I like to call them. I snagged all three of these, in three different sizes, for less than $5 at Wal-Mart. If you haven’t already checked it out, their Christmas decor section is super impressive this year!

And lastly, and perhaps the most important part of creating this snow scene is, of course, the SNOW!. I grabbed a bag of the Frosty Snow, also from Walmart. Let me just say that you will only need a tiny portion of this snow for this particular project. But for about $4 you get a generous amount for all you other Christmas projects.


Once you have gathered all your material it’s time to assemble. This is one of the easiest DIY projects I have ever completed and I must say it is STUNNING! I started by putting a couple handfuls of the frosty snow on the base.
Next, simply take your trees, starting with the largest, and “bury” the bases in the snow so all you can see is the stem.

Just for a little added touch, I sprinkled the tops of the trees with some snow as well.

Once you have your trees placed and “flocked” simply place your globe over the top! That’s it folks! If you take anything away from this DIY, it is be on the lookout for those cute little stands or glassware that can be paired together to make a cloche. Each part of this project came from two separate thrifting adVentures. Go ahead and pic those types of things up even if you aren’t sure where you will use them!


-PIN FOR LATER-


