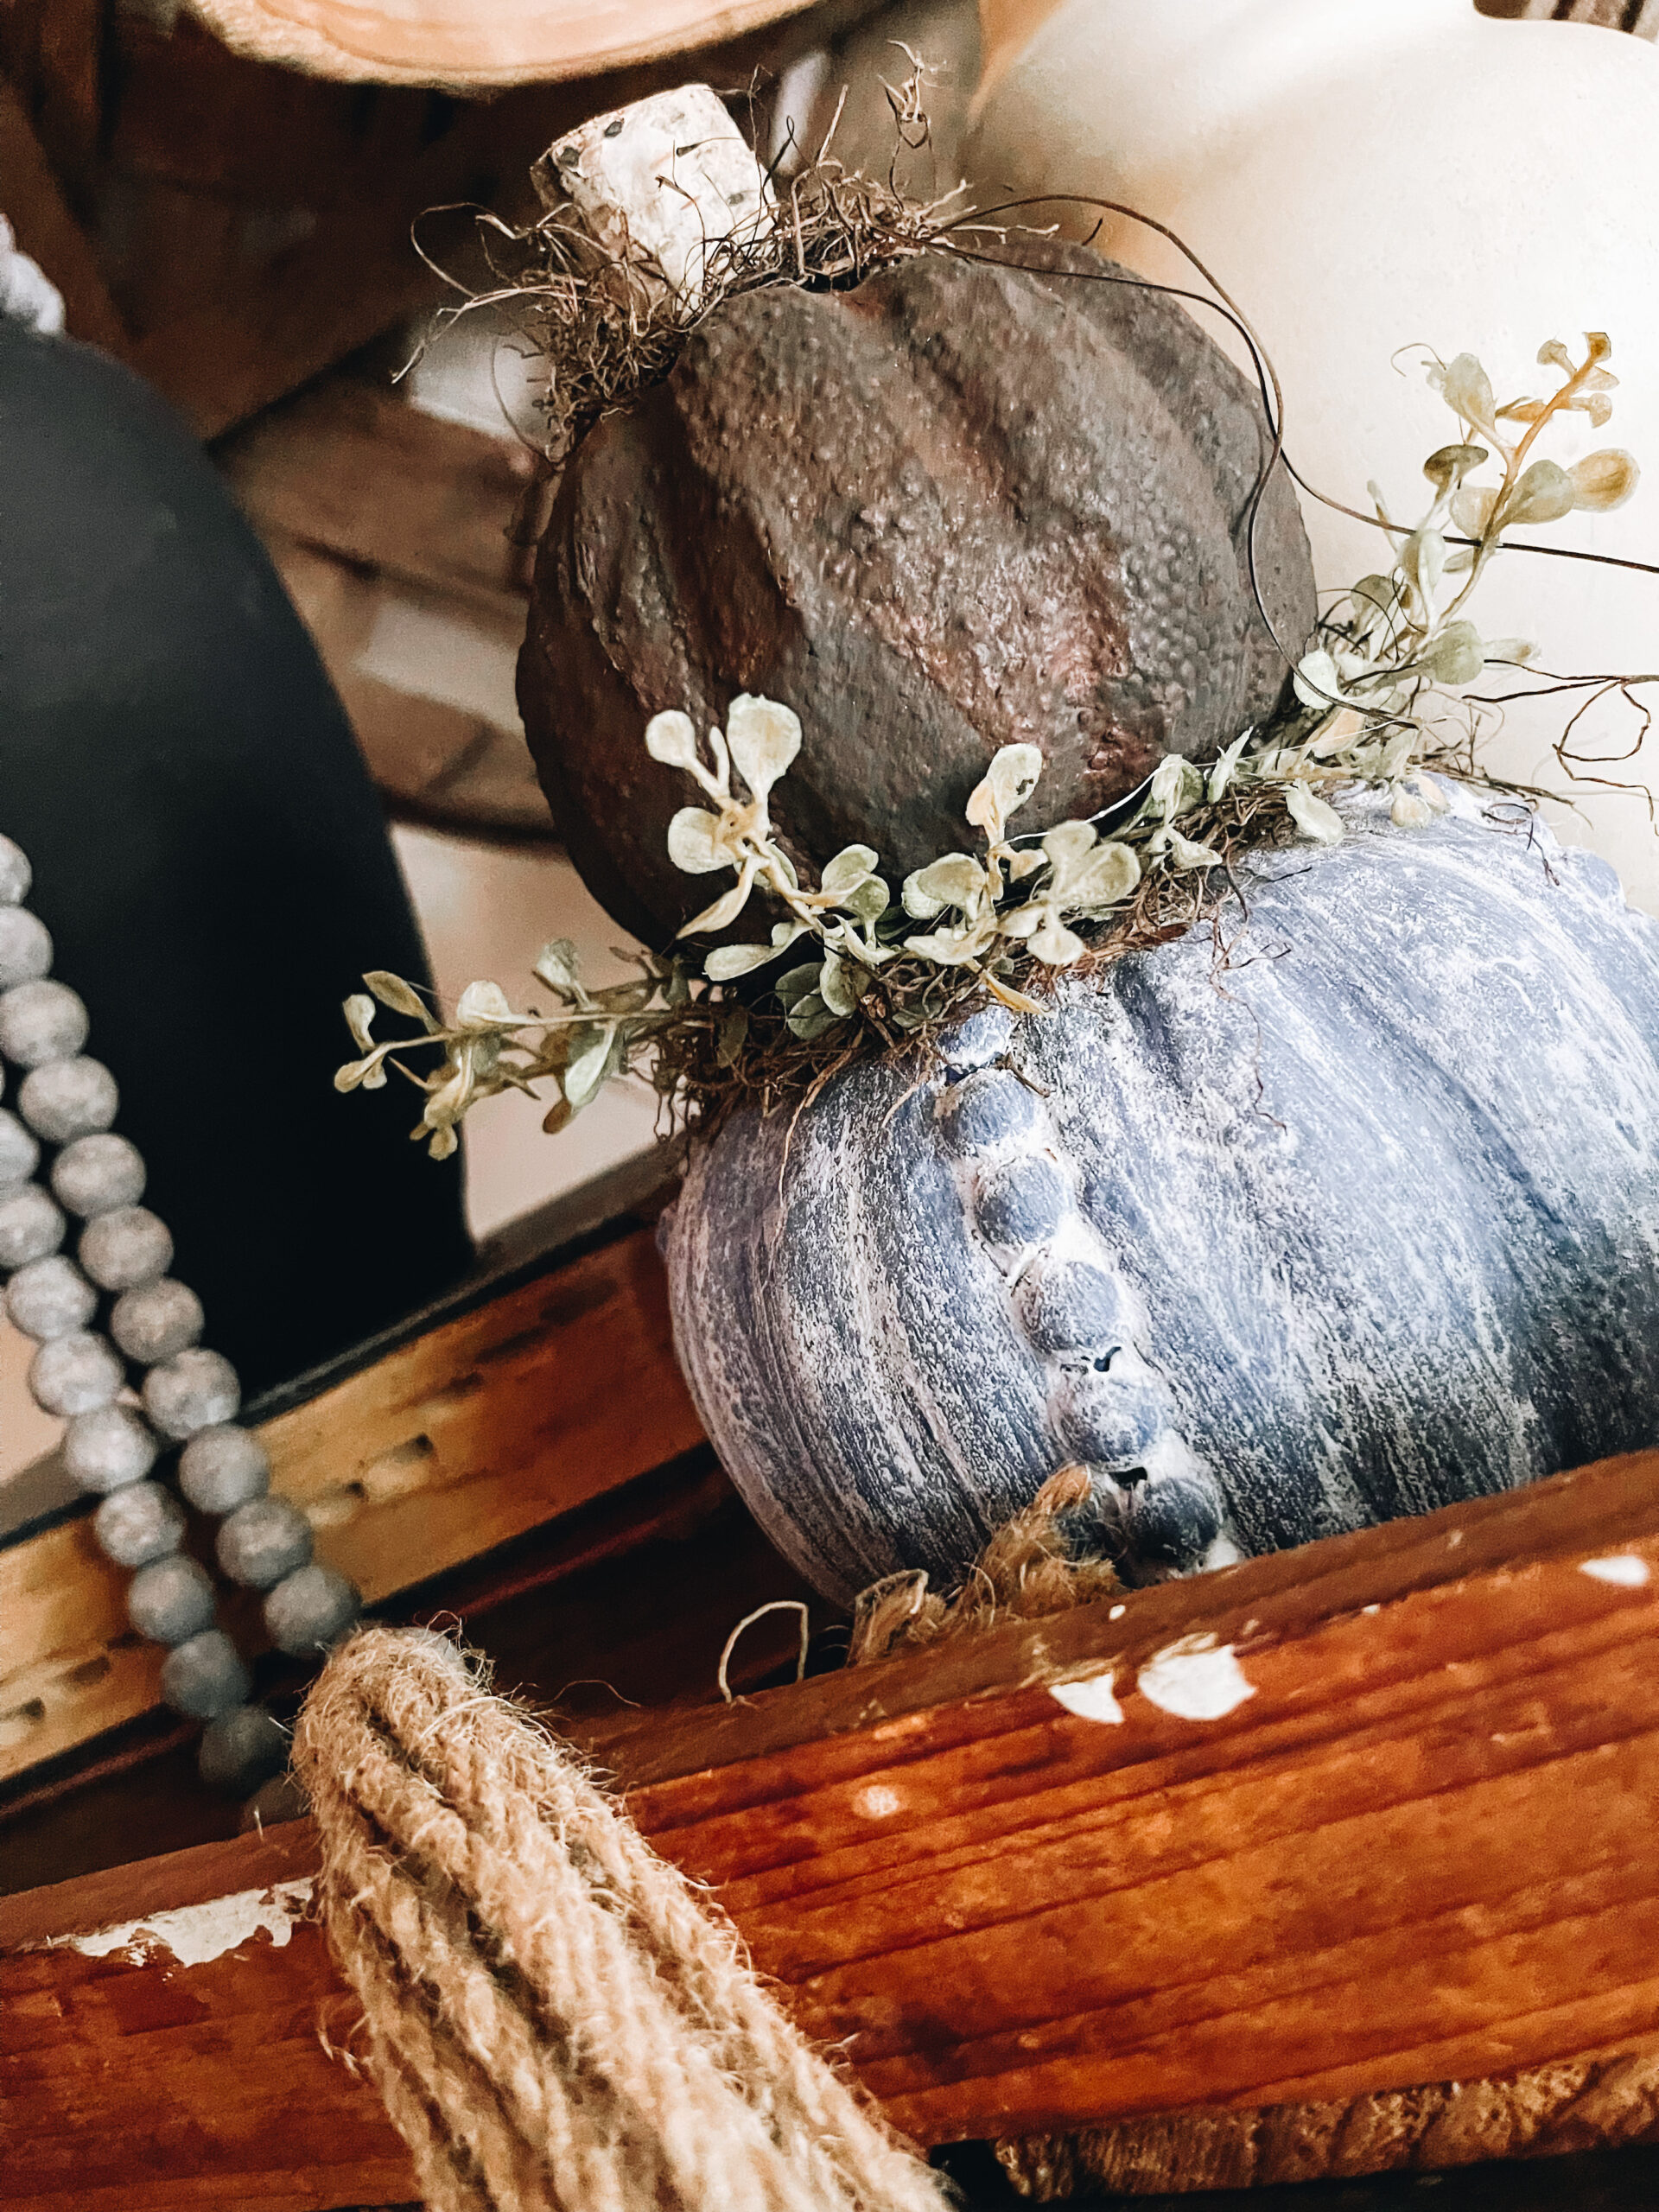
I have done plenty of DIY’s with Dollar Tree pumpkins over the years, but this Dollar Tree Pumpkin Topiary is my favorite.

Supplies needed for a Dollar Tree Pumpkin Topiary
- 2 Dollar Tree pumpkins of different sizes
- Spanish Moss
- Paint Colors of choice I am use a rust and iron and Waverly Plaster White
- Upholstery tacks or thumbtacks for texture
- paint brush
- Limewash by Valspar
- hot glue and glue gun
- small greenery stem (optional)
- exacto knife
Pumpkin #1
Begin by carving out the center of your Dollar tree foam pumpkin. This step isn’t completely necessary unless you plan to fill the void with something. In this case, in this case, I will be filling it with a small greenery pick here in bit.

After the center is carved out, you can use thumbtacks or upholstery tacks to create the popular hobnail texture you see in a lot of decor pieces.

Then I painted the entire pumpkin in a chalky white for coverage before painting a second coat in English Navy by Apple Barrel.


After both coats of paint are completely dry, you are going to use a Limewash Glaze by Valspar to create a gently aged and worn effect. This is especially helpful in disguising the texture of the Styrofoam.

Cover the edge of the opening using hot glue and spanish moss before placing a greenery pick in the center.

Pumpkin #2
Much of this process for the 2nd pumpkin will be similar. I grabbed this velvet covered pumpkin because it was slightly smaller than the first. I wanted there to be some variation in the sizes of the pumpkins.
Start by removing the covering and stem.

Then paint. I used a iron color and layered it with an iron color for a rusty effect.

Then, again, using hot glue and moss adorn the top of your second pumpkin along with a creative stem.

After that, simply stack your pumpkins and press them together with hot glue until secure.


