
Learn how to give new wood a beautiful naturally aged look with the stain layering technique An easy DIY method for using stain to achieve an old look.
The goal here was to make this wood look aged and previously loved. In this case, a since shade of stain wasn’t gonna cut it. I decided on using a technique I am unofficially naming stain layering. To be truth I don’t know if this is techinically a technique but it’s what I came up with and I must say I happy with the results. These are the shades I used:
- Minwax Weathered Oak 270
- Minwax Semi Transparent English Chestnut 223
- Minwax Semi Transparent Early American

Layer One
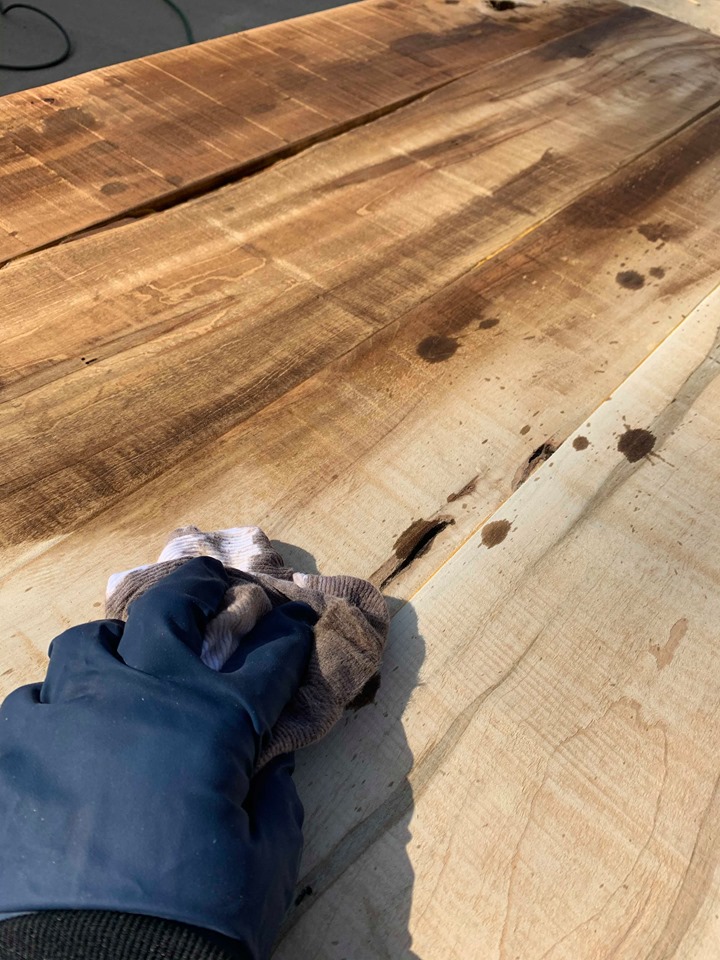
Before I even dipped my rag in the stain, I stuck a few fingers into one of the two darker stains, I forget which, and splattered drops randomly over the top. I wanted these areas to have time to set in and darken before I blended them. I did this in small sections, splattering on one side and blending another while it had time to soak in. I found it more effective to splatter the darker shades and go back and blend with a lighter shade.

Layer Two
After the splatters have had a moment to soak go back with a lighter shade, in this case it was the Weathered Oak and blend with the grain. This will smooth out the edges of the blot.
Note, in the areas that you are not blending a blot, randomly alternate between shades of stain WITH THE SAME RAG. Basically, stain as normal but alternate between shades.

Layer Three and Beyond
Simply repeat the blotting and blending until you achieve the look you want. I went back and darkened some areas and blemishes that I really wanted to emphasize.


Here you can really see the variances in color with the darker blemished areas shining through.

Seal with a water resistant sealer. This is the POLYCRILIC SEALER I use for most of my DIY projects. It dries nice and clear without yellowing your surface.

PIN FOR LATER


Loving the way this is turning out!! ?
Thank you! It’s been slow but oh so worth it
Comments are closed.