
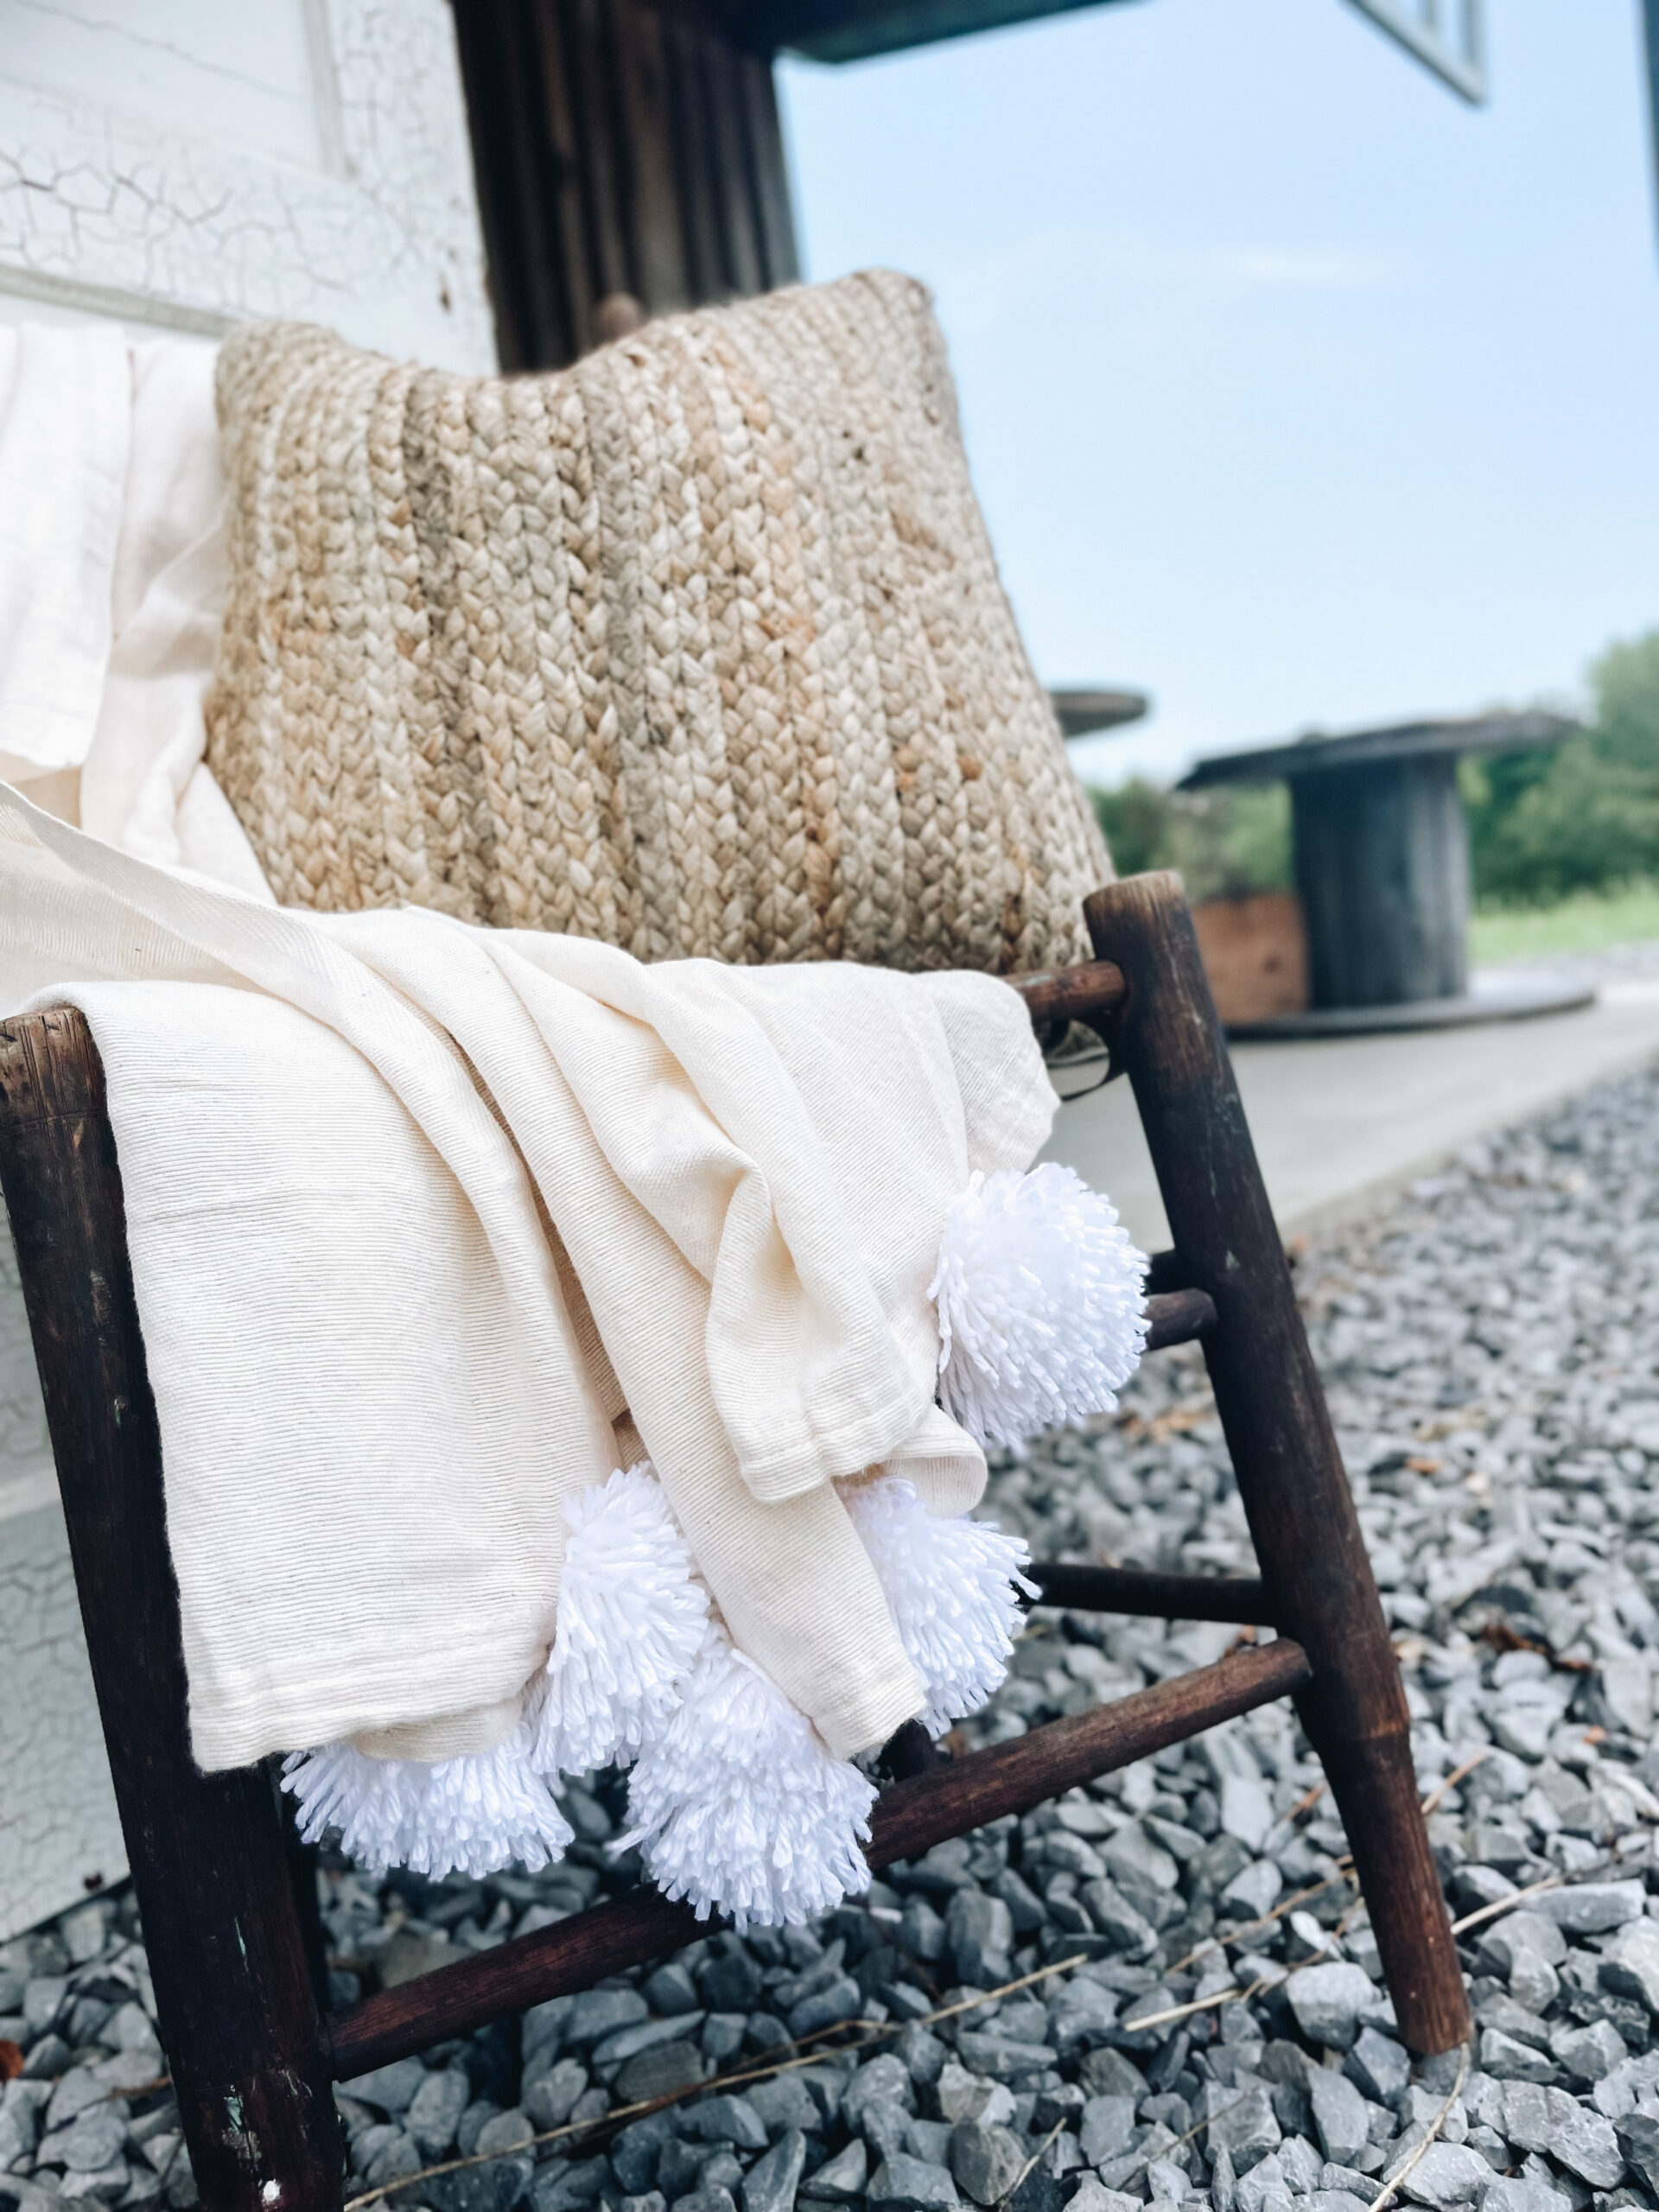
This month’s DIY Decor Box boasted this super fun and easy pom pom throw blanket DIY. Each of our subscribers received everything they needed in their box to be able to craft their own unique throw blanket for their home. You can see a full description of the contents of the JULY DIY Decor Box (Here)

Begin your pom pom throw using a pom pom maker and wrap it around 100 times for a nice thick pom. The beauty of it is you can decided how thick or how small you want to create your poms to be. For this particular blanket I am making 7 jumbo poms for the two short ends of the blanket.

Once you’ve reached your desired thickness, tie it in the center with an additional piece of yarn and slide it off the end of the pom pom maker.


Cut the loops and fluff the pom. Trim to length if needed.


For determining placement of my poms I used a folding method. Using Surebonder fabric glue, I placed at pom on each corner of the short end of the throw. Then I folded it in half and placed a third pom in the center of the two. I evenly spaced the other 4 poms in the negative space between the center pom and the ones on the corners. I used 7 poms for each short end of the blanket.
Repeat this step for the other end of your throw blanket for a total of 14 jumbo poms.


You are such a sweet lady love your lives I hope to visit your store one day I’m from dunnellon Florida.
Comments are closed.